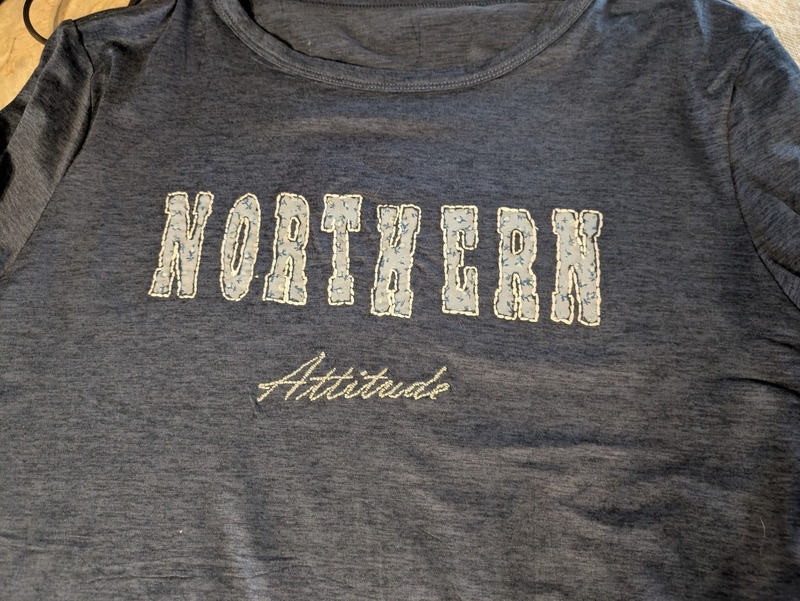
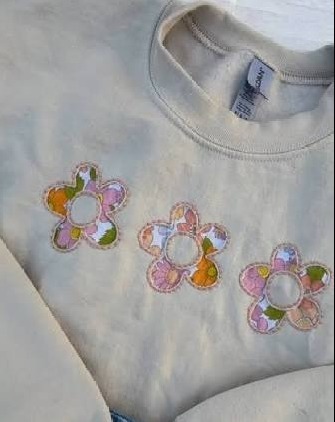
As December and the holiday season fast approach, gift giving is more of a consideration than ever. And, as basically everything else seems to trend downhill, teens and adults alike are searching for more inexpensive ways to give to friends and family. I’m here to provide a column full of projects you can handmake inexpensively for birthdays, holidays, senior gifts, school events, or for yourself!
This first project is a step by step with images from the process I took to make a gift for my mom for her birthday. The materials you’ll need are
A shirt/sweatshirt (whatever your gift receiver likes to wear, but stiffer, thicker fabrics like crewnecks or sweatshirts work best.) My mom prefers non-sweatshirt material, so I used this long-sleeve off amazon for $9.48. Stretchy fabrics tend to be worse for embroidery in general, but if you are more experienced, you can make it work.
Embroidery wash-away stabilizer/transfer paper-- I bought mine from amazon for $7.99, here, but you can also use a washable pen like this one for $4.99 or even chalk for a cheaper alternative.
Fabric- like a long quarter or fat quarter, something long but incredibly wide. Choose whatever color you like, but a patterned fabric will look best. Also, keep in mind that this fabric will be under the shirt you bought, so choose something compatible. Price will vary, but you can find fitting fabric scraps at flea markets or craft stores. I recommend about 4-5 inches tall and about 15/20 inches long (which will provide you with plenty of excess.
Scissors, embroidery thread, an embroidery needle, and an embroidery hoop. These vary in price, and it's likely you already have access to some or most of these supplies. If not, I recommend checking out secondhand stores or borrowing these supplies from a friend.
Access to a printer and Canva or Google docs
First, you'll want to decide on a pattern. This technique utilizes lettering, so I would recommend using a smaller word or words in order to have more space. As you can see, I decided to use the word “NORTHERN”, which I wouldn't recommend because it had too many letters and took quite a long time. To begin, you'll want to write your word in a Google doc or equivalent, choose a blocky, thick font with plenty of space for your fabric. I recommend printing off fonts of a few different sizes and printing it off until you find one that has the best spacing based on your word. Once you're happy, print the letters onto your embroidery paper or on regular paper and trace with an embroidery pen.
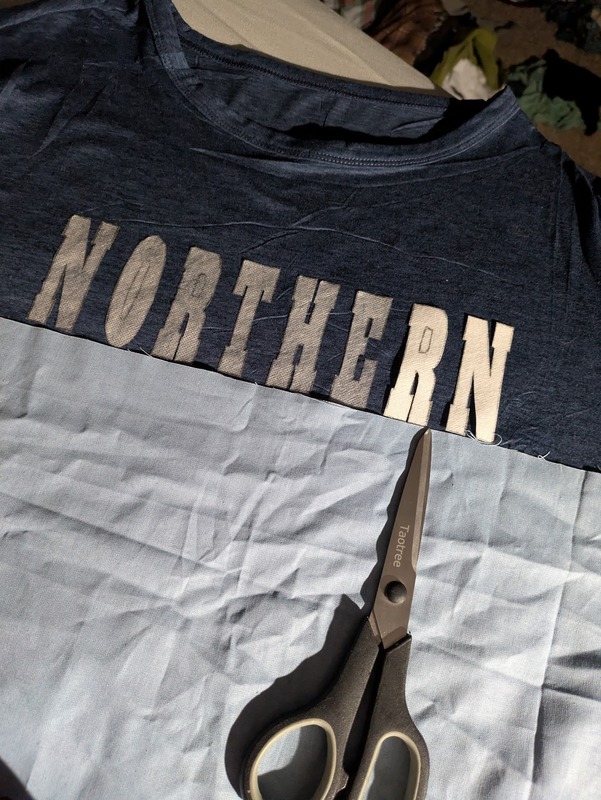
Line up the letters on your shirt and make sure the spacing is even. This step is very important. In my case, I measured the shirt and the letters’ width and then applied them. Once you've applied your letters correctly, flip the shirt inside out. Set your long, short fabric patterned side down on the inside of the shirt and press/attach it to the shirt using your embroidery hoop. Now you're ready to start your embroidery!
Use a simple backstitch to attach the fabric to the shirt. If you don't know how to do embroidery, there are plenty of tutorials to explain the stitch online, and it takes essentially no time to learn once you've got the materials. Make sure to start and end all threads with a knot on the back of the shirt. Once you've stitched through all the letters, remove the hoop.
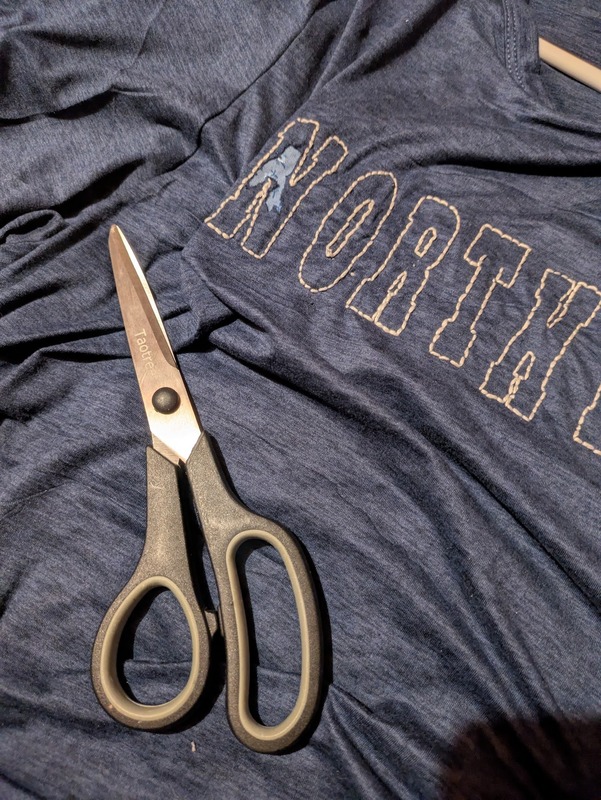
The difficult- or “reverse” part of the embroidery happens now. Slip your scissors very carefully into the layer of shirt above the fabric. Make a small snip and begin to carefully cut away the rest of the shirt within the bounds of your embroidery. Small scissors work best-- ignore the massive ones in this photo. I quickly switched to a smaller pair.
When you have it all cut away, you're finished! I added a regular embroidery word underneath, but depending on your word or phrase, it's optional.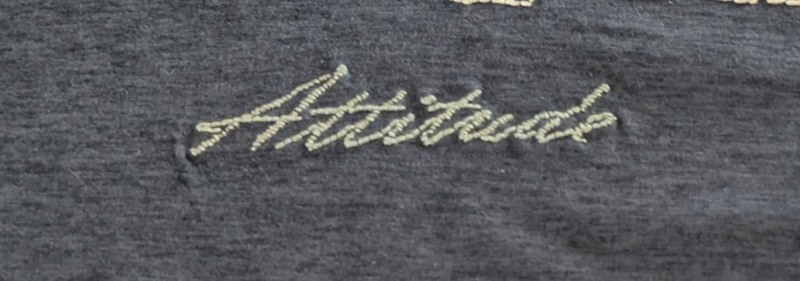 I used an iron-on stabilizing backing to protect the fabric embroidery and to make the shirt more comfortable, but this step is technically optional. You can find an iron-on silk stabilizer on Amazon for relatively inexpensive. Make sure it's not wash-away. You're done with your fun, simple and impressive-looking project. The nice thing about this craft is that it works for a lot of designs, so have fun making and gifting